Sunday, April 3, 2022

Covid Craziness V1.0

Fair to say all of us endured many days and weeks in lockdown, myself included.  To say we all handled it differently would be the understatement of the year!  For me.... I'm classed as an essential worker, so I still headed to the office 9 days a fortnight. I live alone, so work provides me with social interaction that would be sadly lacking if I was working from home, or worse still, out of work.  So not a lot changed for me, other than work is busier than normal, and the cessation of social interaction outside of work.  From time to time I endured weekend lockdowns and it was the housebound part that has created some covid craziness!!  So many projects previous just passing thoughts were enacted, created and now, blogged about!

One such project was to create a terrarium!  I follow a gardener on Instagram and he makes some amazing terrariums, so I dug out some glassware and acquired some plants and.... well....  well I made 9, none of which I am perfectly happy with at this stage.  

Terrariums can be open or closed.  The glasswear I had was all lidded so closed terrariums it would be.

The concept is an old one.  In fact the oldest known surviving closed terrarium was created by a pommie called David Latimer.  He created one with a single cutting in 1960.  It remained sealed for 12 years  when, in 1972, it was opened and water was added.  It's still going now in 2022.  That is one old terrarium!!! I don't know if it has outlived David Latimer!

So my process was thus.... Into the washed bowl of the terrarium I layered black pebbles, horticultural charcoal, sphagnum moss, soaked and dripping and a final layer of succulent potting mix.  My plants were removed from their pots and popped into the succulent layer of medium.   By varying the depth of the medium hills and dales were easy to create so plants of similar height would appear different in the finished product.  

Wide mouth jars and bowls were the easiest to fill and plant out.  The hardest was a 5 litre old glass drink bottle. It was easy to funnel the growing medium in. Harder to create different levels and nearly impossible to get the plants well bedded into the succulent mix!  I used long handled tools and a couple of thin bamboo stakes, but it was not my best work.  I pulled 3 or 4 apart and remade them.  Too much succulent mix was a problem in the early attempts.  It is a case where less gives a better look. There is still plenty of room for root growth thru the layers.

Still unfilled are two 50 litre carboys.  Huge glass jars with very narrow necks.  Unfilled as I am not sure how to effectively create the hills and dales that make a good terrarium.  I will work it out and I will create the last two terrariums, but that, I feel, are enough.   Its not like outdoor gardening because if they are done correctly then need no future care....... well not for the first 12 years anyway!!!


Thursday, July 15, 2021

I've gone Elinchrom!

HAHAHAHAHA... just found this had been sitting in "Drafts" for ohhhh about 11 months!  I'm a silly billy!!!

For those of you who have read along before, welcome back.  For those who are new allow me get you up to speed, pronto.

I love photography, it is my only real creative outlet.   I also have a home studio and a love of controlled light photography, Off Camera Flash or OCF to the newly initiated.  This all started with a photo of some dead flowers against a black backdrop taken with a single Canon Speedlight..... off camera.   I've always been a canon user and on this occasions I triggered the single Canon 580exii flash with a Canon St-E2 trigger on a coffee table in my loungeroom.  The backdrop was a roll of black gift wrap paper.  I was gobsmacked at the result.   Loved it,  and an addiction had began!

Fast forward 12 months and I had garnered together a vast array of Canon gear.   4 x 580exii flash heads and 2 x 430exii's as well.  I'd moved from the St-e2 to Pocket Wizards, so I have 6 x tt5's with a tt1unit and an Ac3 controller.   The madness of gear acquisition continued.  A Sekonic light meter with the pocket wizard module replaced the Sekonic light meter without the pocket wizard module!    Backdrop stands, light stands, cold shoes, bungees, clamps and.... the Modifiers!   I bought some Godox softboxes. Big gridded umbrella octos and some rectangles with grids.  I couldn't get a strip soft box for my system, but I made up 4 strips that I clamped on the sides of the rectangle soft boxes to make a strip light that I could adjust simply by moving two bull clips.   I even bought a cheap shitty boom arm and it was ..........really cheap and shitty!

I've totally impressed myself with the quality of light I have been able to capture with this set up...... but then one Saturday afternoon a text from Josh changed everything.  For YEARS I had wanted, no coveted, even lusted after Elinchroms.   Josh, to his credit, consistently reminded me to not spend any more money until my gear couldn't do what I wanted it to do, but my gear had never left me wanting.  Still I had a crushing desire to own an Elinchrom kit.   I'd only ever used them a few times.... mostly I had been Joshy's VAL (voice activated light stand) on a number of his shoots.   He used a ranger system,  battery operated heads as bright as the sun!!!    In fact he had left his gear in my studio some months before when his work took too much of his time and shooting became something he no longer had time for.   But I digress.  Josh texted me with a link to a bloke selling off some older elinchroms SUPER cheap.  SO cheap I had suspicions about its provenance.  I made contact and my fears were instantly allayed.  This dude knew his stuff.  He spoke confidently about the gear and what he believed was a fault, but for the price I was IN!   I contemplated a late night drive to the Central Coast to meet up, but decided a Sunday morning leisurely cruise would be a better bet and in the morning I was glad of that decision. The windy road to his place was bad enough in daylight.  It would have been horrendous at night!

So I scored a three head system with two softboxes and a reflector, a skyport controller, lightstands,  spare bulbs and a manual for bugger all dollars.  Josh was concerned that I had bought a lemon, but all heads work and the modifiers were in perfect condition.   The huge octos from his ranger system all fitted the system I purchased, which is the beauty of the Elinchrom system and... the big win...was that Josh HAD a strip softbox!  Albeit, without grid.

So the fun continues with 240V lights instead of battery powered speed lights.   I'm not savvy enough to see the difference, if in fact there is any!   I do enjoy the set up. It is super speedy and the variety of softboxes, brolly and reflections I have is stunning.

Its one and only downside is that it is not portable, as in outdoors.   But I retained some speed lights and Pocketwizards in case I ever needed to take it outside.  

Sooooo wanna see some Elinchrom lit images?  I was hoping you would say yes!


Wednesday, July 14, 2021

Ottoman Empire

Some time ago..... ok, it was actually in the last Millennium, I did a short upholstery course and really enjoyed the string spring thing.  I did some drop in seats for a set of dining chairs and was quite chuffed with the result.  Later I did some stools and simple decorator items.  Then...... nothing.  Well nothing until about 3 months ago when I recovered an IKEA ottoman in fake cow hide.  Much as I liked the look, my fabric choice was poor. I purchased fabric with one way stretch and when stretched over the ottoman, the resulting look was.... less than perfect.   Ridges and lines were visible, it was a poor job. 


So on Sunday I zipped to Spotlight and bought 1.5m of a Jocelyn Proust fabric.  Lovely heavy weight cotton with a bold blue and orange print.  Made even more delightful by being 40% off. So the piece cost me less than $25.   The colours suit the loungeroom with a solid blue Layzboy armchair and a bright orange 3 seater.  The plan was for the ottoman to tie them together. 


The construction of the Ottoman made it very difficult to staple fabric evenly along two sides of the piece. I was using a basic lever Arrow T50 Staple Gun, but with insufficient timber for leverage, the staples weren't even and uniform or even well placed.    I decided it was time to lash out on another piece of the Ryobi 18v ONE+ Range and purchased the Cordless Stapler.    Not one for reading instructions it was very easy to load and set the depth of the staple and .....  well I got stuck right in!


Half way done with 2 of the feet back on.   The whole process took less than an hour. I didn't time the process, I calculate an hour because I was listening to Schiller "Live in Berlin" on UE Boom and I didn't get all the way through before the job was done!!t


Really happy with the outcome.   

What will I staple next????


Thursday, June 4, 2020

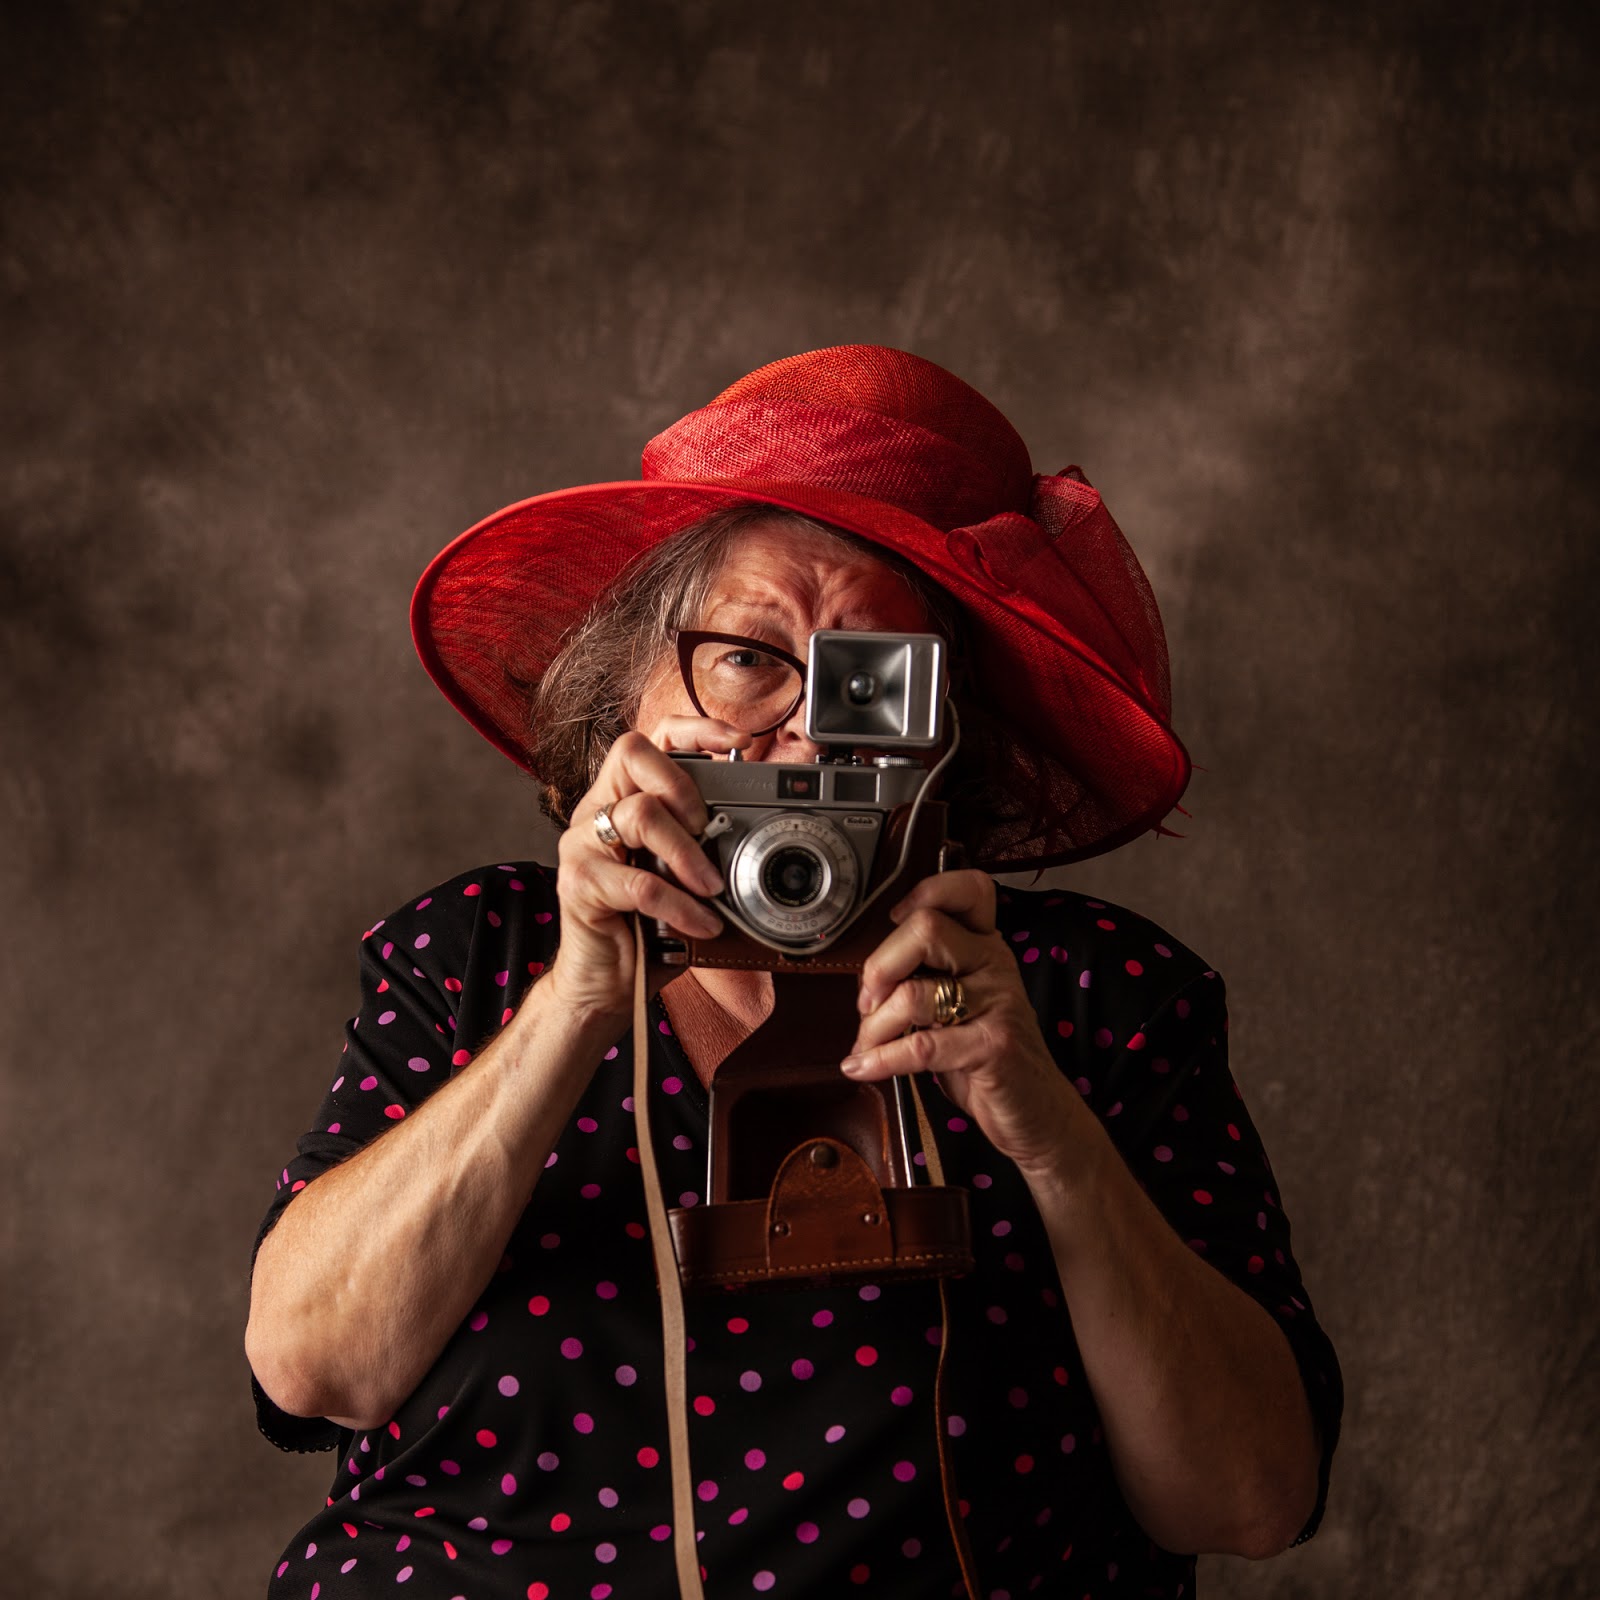
The Kayell Selfie Comp

In April I saw an instagram post from Kayell about a competition they were running.  Kayell is a photographic supply business with an outlet in Artarmon, Sydney.  I've been there a few times to both purchase goodies and for a workshop on lighting.   So when I saw Kayell had a comp running I had to join in.  The rules were simple... take a fun selfie whilst in Covid 19 Isolation with some of my imaging gear.  Upload one shot a day....  until 31 May!   So... why not I thought.   I have plenty of gear, a fully operational studio space and plenty of Iso time!

I made a few notes in my shot book and prepped for a couple of shots.  I use a shot book because my memory is ..... shot after some fancy cancery treatment stuff in 2013.  In my shot book I write up a props list and draw very poor stick figures and lighting diagrams.   But it works for me and that is all that counts!    I listed the props, wigs, gloves, glasses, hats and camera gear! It was surprisingly easy to list the ideas. They just kept flowing onto the page!

I have sufficient gear for my needs,  in fact I sometimes tag my instagram shots  #allthegearandnoidea !  Not strictly true, I don't have all the gear and sometimes I have a bit of an idea!!   Notwithstanding I thought taking some selfies would fill some of my free isolation time.

I'm still working my 9 to 5 grind with my long term employer in emergency services/justice, but weekends were lockdown. So free time was plentiful and I had canned all my studio bookings.  I'm not mad keen on a selfie and am far from model material, but, what the hell!  I thought I'd give it a go!  The 15 or so entries before my first one went up seemed to be outside the rules of the comp!  Lots of selfies, just no imaging equipment in the shots.

So into the studio I went.  Set up my camera on a tripod and started clicking!   If you know me then you know I have no photoshop skills. So these are simply cropped square in Lightroom and then uploaded.


Fast forward to this morning and an email from Peter Munro, head honcho at Kayell, informs me I have won a prize!  A Xlite Multifunction Metal Boom Stand which is PERFECT for the studio!  I was elated to receive this news!  I don't have a good sturdy boom! I have a cheap shitty eBay version that I can't risk hanging a D-lite off!  NOW I have a good one!

So which pic won?

The last one. The 4 shot fighting with the reflector got the prize.


What do you think?  Is it your favourite? Did Kayell get it right?
I have to admit it wasn't my favourite..... but it sure is now!

Sunday, April 7, 2019

Studio Spam

Well I've been tinkering in the studio a bit of late, primarily doing some still life stuff.

Had a couple of girlfriends come over to give it a go and the Nikon Chick struggled, but managed a few decent images.  This is because my lighting gear is all Canon.   I seriously am a Canon girl!  The other visitor is also a Canon Chick and she leapt in,  cracked on and just shot, shot and shot!

I'm still no lighting guru, but I do enjoy OCF (off camera flash) for those of you who wonder what OCF means.

If you enjoy looking at the pics as much as I enjoyed making them, then we will both be very very happy!


I've also been seeing a few live bands of late... so I'll post some pics from them on the next blog post.

Sunday, November 25, 2018

#Studiolife


It took me some time to get it happening, but finally the studio is up and running.   There are three shooting areas.  One for natural light, one for table top and still life work and a full length section.  No cyclorama.... the space isn't big enough for that, but there is a full kitchen for food prep, a models change room with one whole wall of props and another of clothing and a small but functional bathroom.  There are a few more things I would like to do to make it perfect..... but it is pretty damn good as is.    I would consider swapping out the tripod backdrop stands for ceiling mounted and rehoming a couple of large pieces of furniture to allow for more diverse lighting placement.   

I currently shoot with 4 Canon Speedlights and have all manner of modifiers from Honl gels to big arse soft boxes.   I use Pocketwizards (TT1 and TT5) to trigger and they all perform seamlessly and wirelessly... but still I would like a nice pair of Elinchrom BRX 500's.  Well a pair isn't enough, I'd need 3.  The downside to that purchase, and the only thing holding me back, is cords.  Power cables. They will be nothing but trouble for me in the studio.  There is a terrible story from way back in 2009. About getting tangled at an outdoor shoot and only the swift response of a naked model capturing my brand new 5D2 from certain death as the cable twisted around my leg dragged it off a plinth onto rocks below.  But lets not go there.  It still sends shivers!!  Hence my aversion to cables.  Many years have passed, but I'm still scarred by that near tragedy!

I know Godox AD400's or the new 600's are an alternative to the BRX500's, but I really have an Elinchrom mindset.  I have only used them twice, but the build quality impressed me to the somewhat obsessional stage.   The one thing they have over what already exists for me is.... a modelling light.  Shooting tethered is a reasonable alternative, but.... it's still not Elinchrom.  I tether to a MacBook Pro and I do use a Tether tool I picked up from Kayell in Sydney recently.  The Tether tool gives me some security when I feel clumsy around cords (hence my one and only Elinchrom issue). 

So far the Speedlights have not left me wanting.   I have to say output control via the PW's and portability are totally winning points.  I can't fault the gear I have..... but the desire for the big E is strong.  Maybe it's just the choice noise they make when the fire and recharge!

So below are few pics I took last Sunday.

Paper backdrop,  mostly softboxes and one attempt at Clamshell..... we did venture outdoors at the very death, but it was still too early in the afternoon to really achieve my desired outcomes.

The subject, Miss A, was a real trooper.  She gave me "sinister" when I need it!  She sat well, followed instructions and looked dead set stunning in the vintage gown...that I 'nearly' didn't buy!! She was recommended to me by a friend as a potential sitter and was accompanied by family. I'm so lucky to have met her and hope to shoot her again one day.

I was ably assisted with lighting by the aforementioned naked model as she is an accomplished photographer in her own right and for some reason volunteered to be my VAL for the day.  I very much enjoy her friendship. Shooting with her is a real joy.

So below are just five of the images of the day.  There were quite a few more and all required minimal editing, primarily cropping out a tiny sliver of softbox!  

The studio in the making was knows as Duna Studios.  Duna - Doona "well keep you covered", but we do need a new name.   So far StudioNao is atop the list.  If anything grabs you, send a message and I'll add it to the short list!


Sunday, June 10, 2018

Home decorating 101.... by a NON expert!

Well much has transpired since my last post.  I'm now in full blown home reno mode.  I blame too much American daytime television for that!!     Fixer Upper, Good Bones, Flip or Flop.   I am amazed at the seemingly lack of governance in their reno regimes..... but perhaps those boring legal bits have been edited out for effect.   I'm not undertaking that level of work at this stage, but I am doing some decorating!   One of my jobs has been to create a functional office space. Having achieved that with a huge L shaped gloss white desk big enough for my editing computer and my smaller Family History and general laptops and some gloss white Ikea storage units, time has come to decorate the blank wall behind the desk.

The whole room was gutted and two coats of Taubmans was liberally applied.   My mate Moo was the paint buddy on that gig.   I did the patching, sanding and cleaning prep then she did all the cutting in while I rolled along behind here.     We did that on a stinking hot day so there was not a lot of time needed between coats!  And here we are 3 months later ready to create a gallery wall of images.   I purchased 11 black frames with white mattes.  Different sizes and formats, but the black and white theme was what I was after.   I then had 11 of my fave black and white images printed (oh there could be a whole blog post on that debarcle alone).   I finally framed them all.

As the frames were all different styles using old style wire and hanging hooks was just going to be a drama.   Moo suggested I try the 3M "Command" system of wall hooks.  Essentially they are sticky backed velcro.  Surprisingly they hold considerable weight.

I made paper templates the size of the prints and blu-tacked them to the wall.   This made it very easy to move images about and get the look I wanted.  I didn't want all the people pics on one side and the architectural images clumped together on the other side, so the templates worked a treat.

The process for hanging the system is to affix the velcro to the frame,  wash down the wall area where the sticky velcro will end up with rubbing alcohol.  Then remove the protective paper from the velcro and place the image where you want it.....and then..... instantly remove the image!!  That leaves one half of the velcro on the wall,  allowing it to cure for an hour before reattaching the print. 

Each stage of that process is fraught with problems.  Firstly all the frames had different widths on the reverse.  Fortunately the "Command" hooks come in varying sizes, so be cautious if you are embarking on this journey to match your frames with your hooks or, like me, you will be racing to Bunnings for more appropriate supplies!    The next problem was... hanging the images straight.  For this I used a Ryobi Air Grip Laser level.   Air grip, such a cute term for suction!    A mate at work loaned me two laser levels, but for them to be used "single handedly"  they needed to be affixed to the wall...with a nail!   Errr NO!  Not after all the cleaning and patching I had done!!   There are a number of different Laser levels out there and not knowing my arse from my elbow in this selection process I consulted he who shall be known as the "Oracle of Home Renovation".   Without hesitation he recommended the Ryobi.  He was right.  Suction was the answer.

So with all the good gear, good info and good intentions I began removing the templates and hanging the pics.    I started in the middle and worked out to the edges.   The "Command" hooks do leave a little wiggle room so fine tuning is an option.  And if you totally stuff up they can easily be removed and repositioned with a new wall mount piece (which can be bought separately).

The one negative I found was that one of the larger format frames I bought had perspex not glass and was scratched before I even got the print into it.  Lesson learnt,  Microfibre cleaning cloths and perspex don't go mix.   Its an easy fix though.  I'll have a sheet of 3mm glass cut for the frame and replace the perspex at some stage. 

Naturally I took progress images so you can follow the bouncing ball below if you need to.
I am chuffed at the look achieved for a minimal outlay.

Thanks must go to Moo, Joshy, The Oracle and Ash.  Job done! 


BLANK CANVAS

COMMANDER HOOKS, TEMPLATES AND OTHER ESSENTIALS

TEMPLATES IN PLACE

WIZZ BANG RYOBI LASER LEVELLER


ON ITS WAY WITH LASER IN PLACE

THE FINISHED PRODUCT!